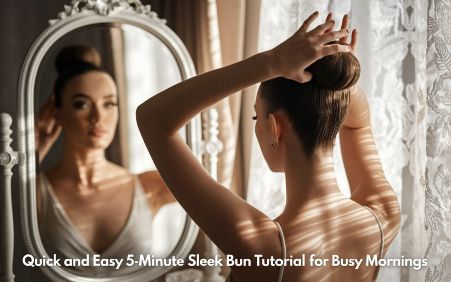
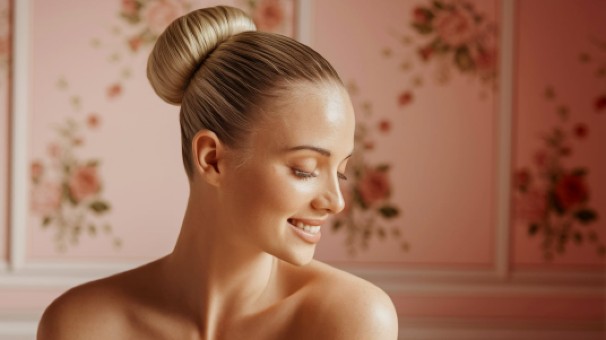
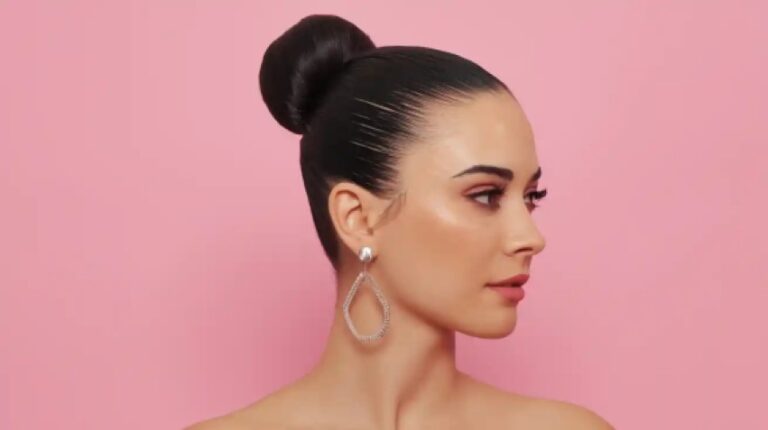
Easy Beginner-Friendly Sleek Bun Tutorial You Can Do
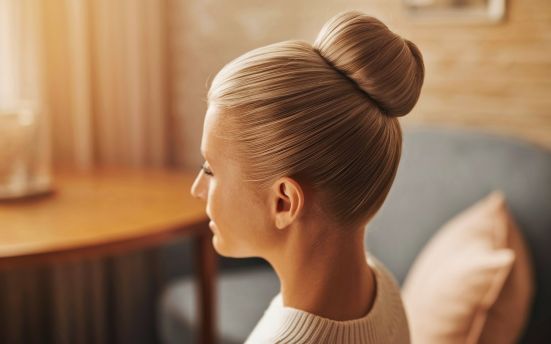
Creating a sleek bun at home is easy and affordable. You do not need salon visits. This tutorial will guide you step-by-step. You can follow it even if you are a beginner. The sleek bun is a stylish and clean hairstyle. It works for any occasion. This guide includes everything from tools to final touch-ups.
Why Choose a Sleek Bun
The sleek bun is timeless. It adds elegance to your look. It suits both casual and formal events. You can wear it for work or weddings. It keeps your hair secure all day. It helps manage frizz and flyaways. It takes only a few minutes once you practice.
Benefits of Wearing a Sleek Bun
- Saves time every morning
- No heat damage
- Works for short or long hair
- Easy to redo anywhere
- Suitable for hot weather
Tools You Will Need
You do not need expensive items. You can find all these in your home or a local store.
List of Basic Tools
- Fine-tooth comb
- Hair tie or elastic band
- Hairbrush
- Hair gel or styling cream
- Bobby pins
- Hair spray
- Edge brush or toothbrush
- Mirror
Step-by-Step Easy Sleek Bun Tutorial
Follow each step carefully. You will master it quickly.
Step 1: Start With Clean or Damp Hair
Wash or dampen your hair before styling. This helps control flyaways. Use a towel to remove extra water.
Step 2: Detangle and Brush Smoothly
Use a wide-tooth comb. Remove all tangles. Then brush from roots to ends. Make hair as smooth as possible.
Step 3: Apply Styling Product
Use hair gel or cream. Spread it from front to back. This adds shine and holds your hair down. Avoid using too much product.
Step 4: Create a Ponytail
Decide your bun position. It can be low or mid-level. Use a brush to gather your hair. Secure it tightly with an elastic band.
Step 5: Twist and Wrap Into a Bun
Twist the ponytail tightly. Wrap it around its base. Secure the ends with bobby pins.
Step 6: Smooth and Set the Look
Use more gel if needed. Apply hair spray to finish. Use an edge brush to shape baby hairs for a polished look.
Step 7: Final Check
Look in the mirror. Fix any uneven parts. Use extra pins if needed. You are done.
Sleek Bun for Different Hair Types
Every hair type can achieve a sleek bun. You just need to tweak the steps slightly.
Sleek Bun for Straight Hair
Straight hair needs light gel. It holds shape easily. You can also add texture spray for grip.
Sleek Bun for Curly Hair
Curly hair needs more moisture. Use a rich leave-in conditioner. Gel will help lay down curls.
Sleek Bun for Thick Hair
Divide hair into sections. Smooth each section separately. Use strong hold products for a lasting bun.
Pros and Cons of Sleek Bun
| Pros | Cons |
|---|---|
| Quick and easy styling | Can cause tension if too tight |
| Elegant and neat appearance | May need touch-ups in humidity |
| No heat damage | Hair gel may cause buildup |
| Works for all hair types | Not ideal for short layers |
| Suitable for any occasion | Requires bobby pins and gel |
How to Make Your Sleek Bun Last All Day
To make your style last longer. Use a satin scarf to set the bun for 10 minutes. Avoid touching it too often. Carry a travel-size gel and edge brush. They help fix flyaways during the day.
Creative Variations to Try
A sleek bun does not have to be basic. Add some creativity.
Low Sleek Bun With Center Part
Part your hair in the middle. Gather it into a low bun. Perfect for formal events.
Sleek Side Bun
Gather your hair to one side. Twist and secure it behind your ear. This looks romantic and soft.
Sleek Bun With Braids
Add two small braids at the front. Wrap them into the bun. This adds texture and detail.
What to Avoid When Creating a Sleek Bun
Avoid applying too much product. It makes your hair greasy. Do not make the bun too tight. It can hurt your scalp. Avoid brushing dry curly hair. It can lead to breakage.
Daily Sleek Bun Routine
You can wear this bun daily. Wash your hair once or twice a week. Refresh it every morning with water spray. Add a little gel and re-smooth it. Wrap your hair at night with satin or silk.
Common Mistakes to Fix
Messy parts make your bun look uneven. Always check with a mirror. Use a tail comb to clean part lines. Frizz happens when hair is dry. Use moisture-rich products before styling. Loose pins cause the bun to fall. Always secure with extra bobby pins.
Best Products for a Sleek Finish
Choose products that match your hair type. Avoid alcohol-based gels. They dry your hair.
Product Suggestions
- Aloe vera gel
- Castor oil-based edge control
- Boar bristle brush
- Moisturizing leave-in conditioner
You can find more sleek bun guides and tips on SleekBun.
Sleek Bun for Special Occasions
You can wear this style for weddings. Use pearl pins or bun cuffs. You can add a veil or hairpiece. For parties add glitter gel or high-shine products.
Sleek Bun for Gym and Sports
Sleek buns keep hair off your face. They stay in place even with movement. Use extra gel and spray. Wear a headband if needed. Reapply product after workout to refresh the look.
Sleek Bun for School or College
This is perfect for students. It looks neat and saves time. You can do it in five minutes. Use minimal product and keep it natural.
Sleek Bun for Job Interviews
A clean hairstyle adds to a good first impression. Use light gel. Keep baby hairs shaped. Choose a low or mid-bun for a professional look.
Sleek Bun and Hair Health
Do not make buns too often without breaks. Give your hair time to breathe. Use oil treatments weekly. Avoid tying hair when it is too wet. Keep your scalp clean.
Transitioning From Ponytail to Sleek Bun
If you wear ponytails often. Try converting it into a bun. Start with your usual ponytail. Twist it into a bun when needed. This gives you more styling options.
Frequently Asked Questions
1. How long does a sleek bun take to do?
It takes 5 to 10 minutes once you practice. First tries may take a bit longer.
2. Can I do a sleek bun on short hair?
Yes. Use gel and pins to secure short pieces. A bun donut can help.
3. Will a sleek bun damage my hair?
No. Just avoid making it too tight. Moisturize and take breaks often.
4. How do I stop flyaways?
Use a fine-tooth comb and strong gel. Set with scarf or spray.
5. Can I sleep in a sleek bun?
Yes. Wrap it in a silk scarf. Use minimal pins and gel for comfort.
Let your hair shine with a clean elegant style. Try this beginner-friendly sleek bun tutorial today. You can wear it anywhere and still look stunning. For more tutorials and ideas visit SleekBun.
