How to Do a Sleek Bun Step by Step for Beginners

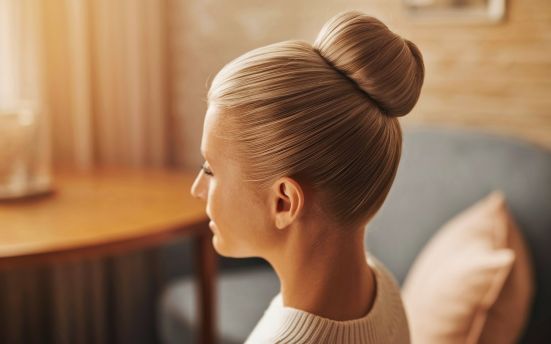
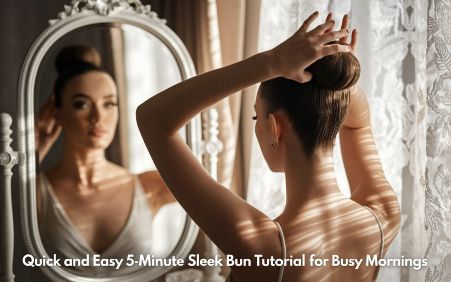
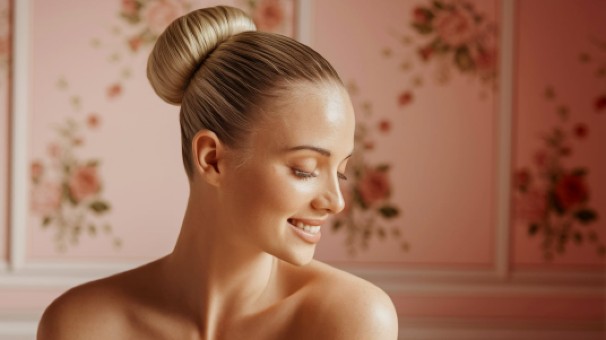
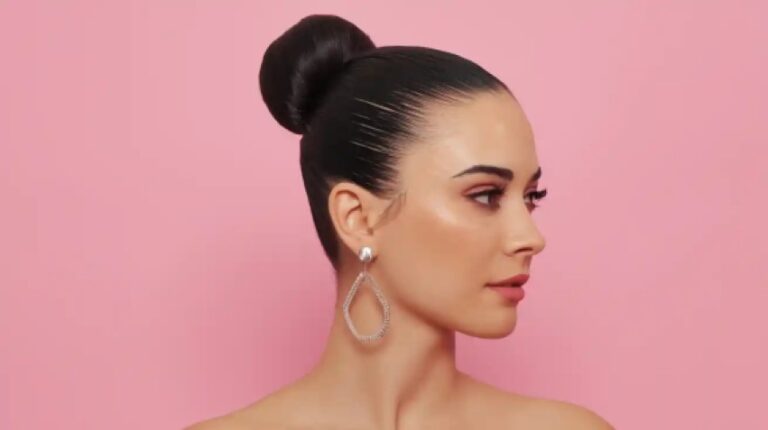
A sleek bun is timeless. It is stylish. It is also simple to create. This guide helps you master it fast. You do not need to be an expert. Anyone can learn it. This style works for work events or everyday wear. Let us break down each step to make your first sleek bun easy and fun.
Why Choose a Sleek Bun
A sleek bun is elegant. It suits all face shapes. It keeps hair neat and in place. It saves time. You can wear it casually or dress it up. It suits long or medium hair. With practice, it becomes a five-minute hairstyle. Sleek buns protect your hair from damage. They are perfect for humid weather.
Benefits of Sleek Bun for Beginners
- Quick to create
- Needs minimal products
- Long-lasting hold
- Looks polished
- Easy to upgrade
What You Need Before You Start
You must prepare before styling. Gather the basic tools first. These items help make the process smooth.
Essential Tools
- Wide-tooth comb
- Fine-tooth comb or brush
- Hair tie or elastic band
- Bobby pins
- Hair gel or styling cream
- Hair spray
- Edge brush (optional)
- Silk scarf (optional for smoothing)
You can find these at beauty stores or online. Pick quality tools for the best results. Use alcohol-free gel for a healthy finish.
Step-by-Step Guide for a Sleek Bun
Let us go through each step. Follow them in order. It makes your bun stay sleek all day.
Step 1: Start With Clean Hair
Wash your hair. Use shampoo and conditioner. Let it dry or keep it damp. Damp hair is easier to slick back. Detangle gently using a wide-tooth comb. Do not rush this step.
Step 2: Part Your Hair
Choose your part. Middle or side both work. Use a tail comb for precision. Make the part clean and sharp. It defines your look. Stick with your natural part for an easy start.
Step 3: Apply Styling Product
Apply gel or cream. Focus on the top and sides. Smooth the product into your hair. Use a bristle brush. Work from front to back. Add more product if needed. Your goal is a smooth surface.
Step 4: Form a Ponytail
Brush your hair to the back. Tie it tight. Use an elastic band. Place the ponytail low for a classic look. You can go mid or high for a modern feel. Secure it firmly. This base holds your bun in place.
Step 5: Twist the Ponytail
Hold the ponytail. Start twisting from the base to the end. Keep it firm but not tight. A loose twist will fall apart. If your hair is thick, twist in two parts. This helps you control volume.
Step 6: Wrap the Twist Into a Bun
Wrap the twist around the ponytail base. Use bobby pins to secure it. Tuck the end under the bun. Add pins as needed. Make sure the bun feels tight. Check from all angles in a mirror.
Step 7: Smooth Edges
Use a small edge brush. Style your baby hairs. Add more gel if needed. This step adds polish. You can skip it if you prefer a clean hairline.
Step 8: Set the Style
Spray a light mist of hair spray. Tie a silk scarf for ten minutes. It locks in the sleek look. Remove the scarf gently. Your sleek bun is now ready.
Common Mistakes to Avoid
Many beginners make simple errors. Avoid these to get better results.
Mistakes and Fixes
- Too much gel: Use enough to smooth, not soak.
- Loose base: Tighten the ponytail for hold.
- Skipping edge work: Baby hairs add finesse.
- No mirror check: Always check from the back.
- Using wrong tools: Avoid plastic bristle brushes.
Sleek Bun Variations to Try
Once you master the basic bun, try new styles. These add flair to your routine.
Low Sleek Bun
Keep the bun at your neck. It is classic. Works well for formal events.
High Sleek Bun
Place it at the crown. It looks trendy. Great for hot days.
Braided Sleek Bun
Braid your ponytail before wrapping. Adds texture and detail.
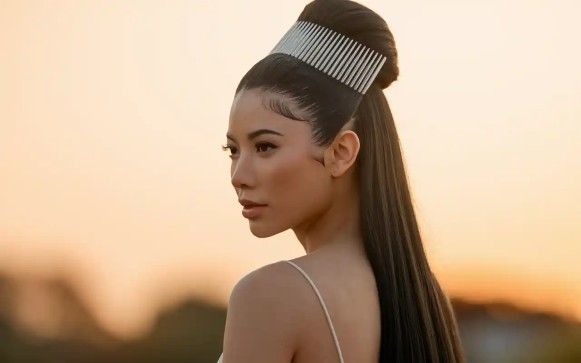
Sleek Bun With Accessories
Use clips or pins. Try pearls or gold accents. This gives your bun a glam look.
Hair Type Tips
Sleek buns work on many hair types. You may need to adjust products.
Straight Hair
Use gel sparingly. Focus on hold. Fine hair may need teasing.
Wavy Hair
Blow-dry or stretch hair first. Smooth it with cream. Brush with tension.
Curly or Coily Hair
Use thicker gel or edge control. Wrap with scarf longer. Divide into sections for control.
Daily Maintenance for Sleek Buns
Your bun can last longer with care. Follow these easy tips.
Tips to Maintain
- Use a silk scarf at night
- Avoid touching the bun often
- Reapply edge control daily
- Mist water and smooth gel for refresh
Pros and Cons of Sleek Buns
Here is a quick overview of sleek bun benefits and downsides.
| Pros | Cons |
|---|---|
| Easy for beginners | Can cause tension if too tight |
| Low product requirement | May not suit very short hair |
| Works for all occasions | Needs regular maintenance |
| Protects ends from damage | May dry hair if used daily |
| Looks polished and neat | Repetitive use needs care |
For More Styling Ideas
Explore tutorials and trends on SleekBun. Learn easy methods and discover new looks. Find the best tools and styles that suit you.
Frequently Asked Questions
How long does a sleek bun last
It can last all day. Use scarf and spray for extra hold. Refresh edges if needed.
Can I do a sleek bun on short hair
Yes. You can use gel and hair extensions. Keep the bun small and close to the scalp.
What gel is best for sleek buns
Use alcohol-free gel. Try Eco Styler or Shine N Jam. These offer strong hold and shine.
How do I avoid flyaways in my sleek bun
Use a soft brush. Apply gel evenly. Tie a silk scarf after styling for ten minutes.
Should I wash my hair before doing a sleek bun
Clean hair helps. You can also do it on damp or stretched hair. Avoid oily scalp before styling.
Final Thoughts
A sleek bun is a must-learn for anyone. It saves time. It adds class to your look. Practice a few times. Soon you will do it with ease. Upgrade your routine with this simple and stylish method.
Want more bun inspiration and step-by-step tips? Visit SleekBun and explore the latest trends.
